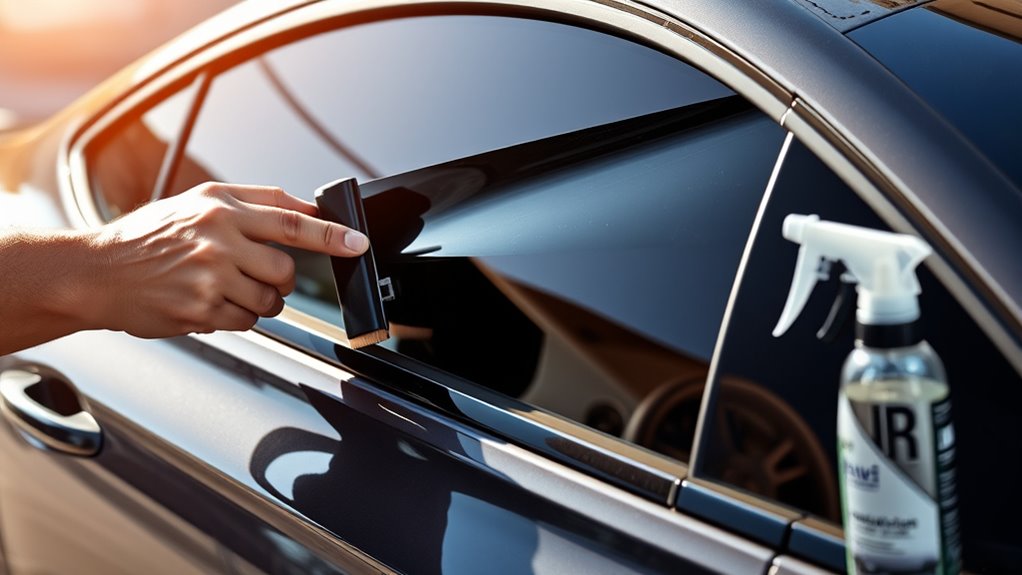
How to Tint Car Windows in 10 Easy Steps
To tint your car windows in 10 easy steps, start by cleaning both sides of the glass thoroughly and gathering all your tools. Window tinting requires precision, so having everything ready will make the process smoother.
Measure and cut the tint film a bit larger than your windows to ensure full coverage. Then, spray soapy water on both the glass and the film—this helps with easy positioning and adjustments.
Peel off the liner carefully, align the tint on the interior window, and smooth it out with a squeegee. This step is key to removing any air bubbles or wrinkles.
For stubborn spots, use a heat gun gently to make the film more flexible.
Finally, let the tint cure by keeping your windows closed for the recommended time.
Stick around for more tips to perfect your car window tinting job!
Key Takeaways
– Clean windows thoroughly with mild soap and water, removing all dirt and grease before tinting.
Make sure the surface is spotless so the tint sticks well and looks smooth.
– Measure and cut tint film slightly larger than the window for precise fitting and trimming.
This gives you some wiggle room to work with when you apply the film.
– Spray soapy water on the window and film to allow easy adjustment and bubble-free application.
The soapy water helps you move the tint around and avoid those annoying bubbles.
– Align and apply the film from one corner, smoothing out air bubbles with a squeegee.
Take your time here to make sure it’s perfectly placed and smooth.
– Trim excess film carefully along edges, tuck under seals, and allow tint to cure for 3-5 days.
Be gentle when trimming to avoid peeling, and then just let it set for a few days for the best result.
Clean Your Car Windows Thoroughly Before Tinting
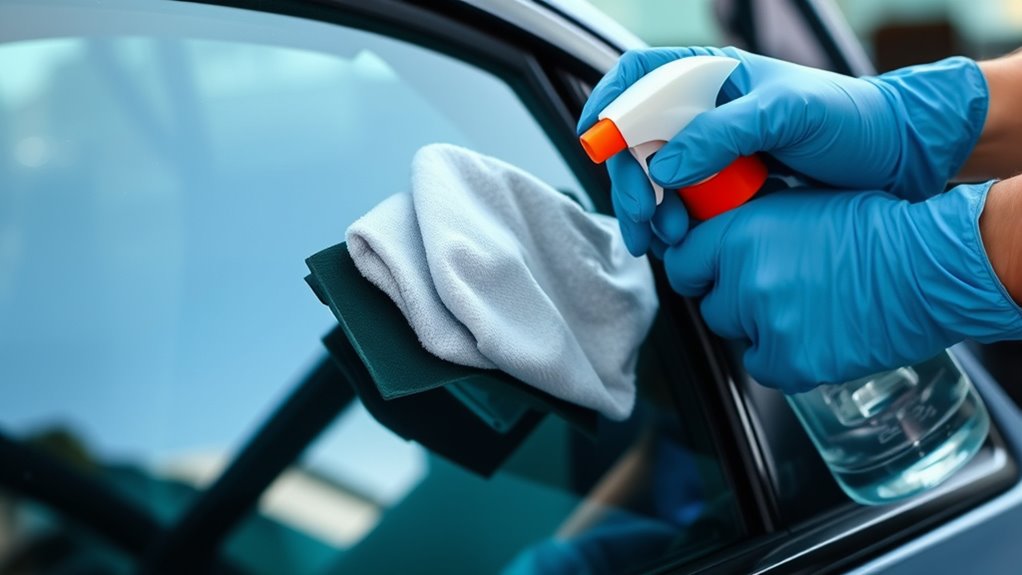
Before you apply any tint, make sure you clean your car windows thoroughly using a mild soap and water solution to remove dirt, dust, and grease from both the inside and outside surfaces. Start by cleaning the interior side carefully, avoiding ammonia-based cleaners that can harm the tint adhesive.
Use a razor blade or scraper to gently remove any stubborn grime, especially along edges and seals, confirming the surface is spotless. Next, rinse with clean water on the outside to wash away soap residue.
Dry the windows completely with a lint-free cloth or squeegee to prevent water spots that could affect the tint application. Take your time to verify no dust, lint, or debris remains on the glass.
These imperfections can cause bubbles or peeling once the tint is applied. By thoroughly preparing the windows, you set the foundation for a smooth, long-lasting tint job without any unwanted flaws.
Gather Tools and Materials Needed for Tinting

Although prepping your windows is essential, gathering the right tools and materials sets you up for a successful tinting job. You’ll need quality tint film, a spray bottle with soapy water, and a sharp razor blade to trim the film precisely.
A squeegee or felt-edged tool helps smooth out air bubbles, while a heat gun or hairdryer ensures a perfect fit by shrinking the film. Don’t forget safety glasses and nitrile gloves to protect yourself during the process.
Measuring tools like a tape measure ensure accuracy before cutting. An application kit often includes cleaning cloths and a plastic card for smoothing.
Work indoors or in a dust-free garage for best results. It really makes a difference!
Measure and Cut Tint Film to Size
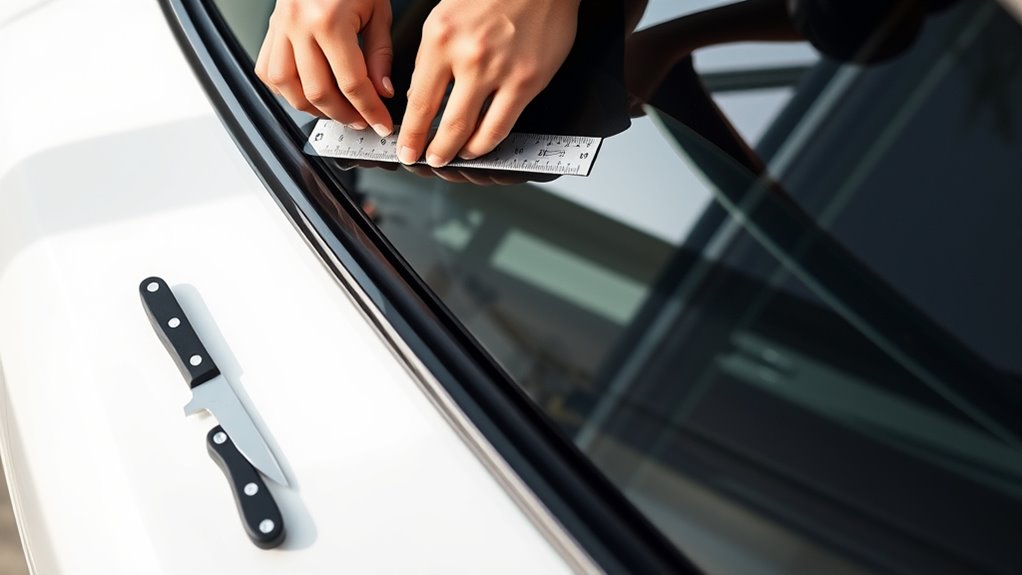
Start by measuring your window carefully to get the exact dimensions for the tint film. Cut the film slightly larger than the window to allow room for adjustments, using a straight edge and precision knife for clean lines.
Make sure to shape the edges accurately before fitting the film to the glass. This way, you’ll have a perfect fit without any awkward gaps or overlaps.
Accurate Film Measurement
When you measure your car windows for tint film, precision is key to achieving a flawless fit. Start by using a tape measure to get the exact width and height of each window.
Unroll the tint film on a clean, flat surface with the liner side facing up, and use these dimensions to mark the film. Be sure to add an extra 2-3 inches on all sides to allow room for trimming.
Carefully measure and cut to fit, using a straight edge to guide your cuts along the marked lines. Always double-check your measurements before cutting to avoid mistakes and guarantee the film fully covers the window.
Taking these steps helps assure a smooth application without gaps or overlaps. It might seem like extra work, but trust me, it’s worth it for that perfect finish.
Cutting Techniques
Once you’ve measured and marked the tint film with extra margins, it’s time to cut it to size. Proper cutting guarantees a clean fit and minimizes waste.
Follow these steps for precise results:
- Lay the tint film flat on a clean cutting surface or keep it rolled for easier handling.
- Use a straightedge or ruler to guide your cuts, ensuring straight, even edges.
- Cut carefully with a precision knife or razor blade along your marked lines, maintaining a steady hand.
- Trim excess film around edges and corners with a sharp razor blade for a perfect fit on the window.
Shaping Film Edges
Although measuring accurately is crucial, you’ll want to add 2-3 extra inches to each side of the tint film to guarantee full coverage before trimming it to fit the window’s contours precisely. Start by holding the film against the edge of the window, sliding it slightly beyond to ensure complete coverage.
Next, lower or raise the window to access all edges comfortably. Use a straight edge and a precision knife to trim the excess film carefully along the window’s shape. Make sure to leave a small margin for adjustments.
Check the fit repeatedly by holding the film to the window, making small trims as needed. This careful shaping ensures a seamless, professional-looking tint that fits perfectly on your car window.
Spray Soapy Water for Easy Tint Positioning
You’ll want to spray soapy water on both the window and the tint film before positioning it. This slippery layer lets you easily slide the film into place without it sticking right away.
Using a mix of water and a few drops of dish soap helps guarantee a smooth, bubble-free application. It makes the whole process way easier and less frustrating.
Benefits of Soapy Water
Why is soapy water a go-to solution when tinting car windows? Because it makes the process smoother and more precise.
When you spray soapy water on the glass, it creates a slippery surface that lets you easily slide and adjust the tint film without it sticking too soon. This helps you position the film perfectly before you squeegee out the excess film away.
Here are four benefits of using soapy water:
- It reduces friction and static, so the film won’t cling prematurely.
- It allows you to reposition the tint effortlessly for a perfect fit.
- It helps eliminate air bubbles by letting you slide the film into place.
- It prevents the tint film from tearing or creasing during adjustment.
Soapy water is essential for a clean, flawless tint job.
Application Techniques
When applying tint film, spraying a generous layer of soapy water on both the window and the adhesive side of the film helps reduce friction and lets you easily reposition the tint for a perfect fit. Use a spray bottle filled with water and a few drops of dish soap, ideally in a 1:50 ratio, to create a slick surface.
This slip layer prevents the film from sticking immediately, allowing you to adjust the window film until it aligns perfectly. Keep the film wet throughout the application process, reapplying soapy water as needed.
This technique not only helps you apply the tint smoothly but also lets you work out bubbles and guarantees even adhesion across the glass for a flawless finish. It really makes the whole process a lot easier and gives you great results every time.
Align Tint Film on Exterior Window Surface
How do you guarantee the tint film fits perfectly on your car window? Start by positioning the tint film on the exterior window surface with the liner side facing you. This assures you align it properly, especially on tricky areas like the rear window.
Here’s how to get it right:
- Place the film carefully on the wet window, liner side out, to see the exact fit.
- Use a squeegee or your fingers to press the film gently, starting from the center and moving outward to avoid bubbles.
- Align the edges precisely with the window frame, making sure the film covers the entire glass with a slight margin.
- Check thoroughly for wrinkles or bubbles and adjust the film as needed before it sets.
Following these steps helps you get a smooth, well-aligned tint ready for the next step without any issues. Easy, right? Just take your time and be patient.
Trim Excess Tint Film Around Window Edges
Now that your tint film is aligned, it’s time to trim the excess around the window edges with a sharp razor blade for a clean finish. Use a straightedge to guide your cuts and work slowly to avoid damaging the film.
Once trimmed, press down the edges firmly to keep the tint secure and prevent lifting. Taking your time here really pays off!
Precise Edge Trimming
Although applying the tint film is a crucial step, trimming the excess around your car window edges demands equal attention to detail. Using a sharp razor, you’ll want to trim edges carefully to ensure a clean, professional look.
Follow these steps to get it right:
- Hold your sharp razor at a 45-degree angle to prevent scratching the glass.
- Use a straightedge or trimming tool to guide your cuts for smooth, even lines.
- Trim gradually from one corner to the other to avoid tearing or uneven edges.
- After trimming, press the film edges gently under the window gasket for a seamless finish.
Razor Blade Techniques
Trimming the excess tint film around your car windows takes a steady hand and the right razor blade techniques to achieve a flawless finish. Use a sharp, fresh razor blade to carefully trim along the window edges, holding it at a 45-degree angle to apply gentle, steady pressure.
This helps prevent scratching the glass or damaging the film. Always trim just outside the window seal or gasket to avoid gaps or overlaps that cause bubbles.
For a clean, straight cut, use a straight edge or plastic squeegee as a guide. After trimming, inspect the edges closely and make small, controlled cuts to remove any uneven or jagged parts.
Following these razor blade techniques ensures your tint looks professional and seamless. It might take a bit of patience, but the results are definitely worth it!
Managing Excess Film
How do you guarantee your window tint fits perfectly without unsightly edges? Managing excess film by trimming it carefully is key.
Follow these steps to assure a clean, professional look:
- Leave about ½ inch of excess film beyond the window frame to allow for adjustments.
- Use a sharp razor blade and a straightedge or metal ruler to trim the excess film precisely around the edges.
- Gently tuck the trimmed excess film under window seals or gaskets for a seamless finish.
- Double-check the fit and make minor razor adjustments to remove any leftover excess film.
It’s all about taking your time and being patient. That way, your tint looks smooth and flawless every time!
Remove Protective Liner and Spray Adhesive Side
When do you remove the protective liner from the tint film? You should carefully peel it off once you’re ready to expose the adhesive side. Be gentle and avoid touching the sticky surface directly to prevent fingerprints and dirt from contaminating the tint.
Once the protective liner is removed, hold the film with the adhesive side facing outward and spray it generously with a soapy water solution or a dedicated application spray. This keeps the adhesive side wet, preventing it from sticking prematurely and allowing you to move and position the film easily on the window.
Keeping the adhesive side moist also helps reduce the risk of bubbles and creases during installation. Spraying the adhesive side thoroughly ensures you’ll have better control over the film, making the next step—applying the tint film to the interior window—much smoother and more precise.
Apply Tint Film to Interior Window
After spraying the adhesive side of the tint film, prepare the interior window by cleaning it thoroughly with soapy water. Then, scrape off any dirt or residue with a razor blade. This step is crucial for a smooth application, especially for rear window tinting.
Follow these steps to apply the tint film correctly:
- Spray the inside of the rear window with soapy water. This helps you easily adjust the tint film.
- Peel off the adhesive backing carefully. Try not to touch the sticky side.
- Align the tint film with the window edges, starting from the top or a corner. Then, gently press it onto the glass.
- Use a squeegee or credit card to press the tint from the center outward. This will smooth out bubbles and creases as you go.
Taking your time with this process really makes a difference. It ensures a clean, professional window tinting finish inside your car’s rear window.
Use a Squeegee and Heat Gun to Remove Bubbles
Although applying the tint film carefully reduces bubbles, you’ll still need to use a squeegee and heat gun to remove any remaining air pockets. Start by gently pushing out air bubbles with a squeegee, moving from the center of the film toward the edges.
Carefully apply tint film, then use a squeegee from center to edges to push out air bubbles.
Work gradually to avoid creases. Next, apply low heat from a heat gun to soften the film. This makes it easier to smooth out stubborn bubbles and wrinkles.
Keep the heat gun moving continuously to prevent overheating, which can damage both the tint and the glass. After heating, use the edge of a credit card or the squeegee to press out water and any trapped air bubbles.
Reheat specific areas as needed to maintain the film’s flexibility, allowing you to remove bubbles more effectively. Following these steps assures a smooth, professional finish without unsightly air pockets under your car’s tinted windows.
Let Tint Cure With Windows Rolled up for Best Results
To guarantee your car window tint adheres properly, keep the windows rolled up during the curing process. This step is crucial to ensure your tint job lasts and looks flawless.
Here’s why you shouldn’t roll down the windows right after installation:
- Prevents dust and debris from settling on the adhesive, keeping the surface clean and smooth.
- Maintains consistent pressure on the tint, helping it stick evenly and reducing bubbles.
- Creates a sealed environment that limits air and moisture exposure, promoting better curing.
- Allows the adhesive to set fully, resulting in a more durable and long-lasting tint job.
It’s best to keep your windows rolled up for at least 3 to 5 days. Rolling them down too soon can cause imperfections and weaken the bond, ruining the work you’ve done.
Frequently Asked Questions
What Is the Easiest Way to Tint Car Windows?
The easiest way to tint car windows is by using pre-cut tint kits made for your vehicle. You’ll spray soapy water outside, position the film, smooth bubbles with heat, then trim excess for a clean finish.
It’s pretty straightforward once you get the hang of it. Just take your time, and you’ll have tinted windows in no time!
What Can I Put on My Windows so I Can See Out but No One Can See In?
You can use reflective or mirrored window film that lets you see outside while blocking others’ view in.
For better privacy at night, choose darker tints or frosted films that still allow some light through.
These options help you keep your privacy without making your space feel closed off.
Pretty handy, right?
Is It Hard to Learn to Tint Car Windows?
It’s not too hard to learn, but you’ll face a learning curve. You’ll need patience and practice to avoid bubbles and creases.
Watching tutorials and practicing on spare glass helps you get better and more confident. Just take your time, and you’ll improve before you know it.
Can I Put Tint on My Car Myself?
You can tint your car yourself, like painting a canvas with patience and precision. Just clean, measure, cut carefully, and smooth the film.
With practice and good tools, you’ll get professional-looking results without hassle. It’s all about taking your time and going step by step.
Conclusion
Tinting your car windows takes time, technique, and a touch of tenacity. By thoroughly cleaning, carefully cutting, and confidently applying your tint film, you’ll create a cool, clear, and classy car look.
Remember to remove bubbles boldly and let your lovely layers linger with windows locked up. Stick to these simple steps, and soon you’ll be enjoying a sleek, shaded, and stylish ride that’s both functional and fabulous.
Following these easy steps ensures your car window tinting job looks professional and lasts longer. Not only does window tinting improve your car’s appearance, but it also helps block harmful UV rays and keeps your interior cooler. So, get ready to enjoy the benefits of tinted car windows—enhanced privacy, reduced glare, and an overall boost in style and comfort. With a little patience and care, tinting your car windows will be a rewarding DIY project that transforms your ride beautifully.





3 Comments