How to Get Paint Off Car in 10 Easy Steps
Start by preparing a well-ventilated workspace and wearing safety gear like goggles and gloves. This is essential to protect yourself while working with paint removers or mechanical tools.
Next, wash and dry your car thoroughly to get rid of any dirt or debris that could interfere with the paint removal process.
Now, take a close look at the paint type and the damage to figure out the best removal method. Different paints and conditions call for different approaches, so knowing this upfront saves time and effort.
For large areas, use mechanical tools like an angle grinder with coarse then fine grit discs to strip the paint effectively.
When you’re working near edges or tight spots, switch to precision tools to avoid damaging the car’s surface.
After you’ve stripped off the paint, clean the surface carefully to remove any leftover residue.
Then, smooth the area with sanding before you move on to priming.
Following these steps sets you up for a flawless finish and makes deeper paint removal techniques much easier.
Key Takeaways
- Prepare a well-ventilated workspace and wear safety gear like goggles, gloves, and a respirator to protect from fumes and debris.
- Clean and dry the car surface thoroughly. Take a good look for any loose paint or damage before you start removing paint.
- Use an angle grinder with coarse grit discs for large areas. Move steadily so you don’t gouge the surface. Then finish up with finer grit for a smooth finish.
- For tight spots and edges, use precise tools and masking tape. This helps you remove paint carefully without harming the surrounding areas.
- Once you’ve stripped the paint, wash the surface with pH-neutral shampoo and isopropyl alcohol. Then buff it up and protect it with polish or wax.
Prepare Your Workspace and Safety Gear
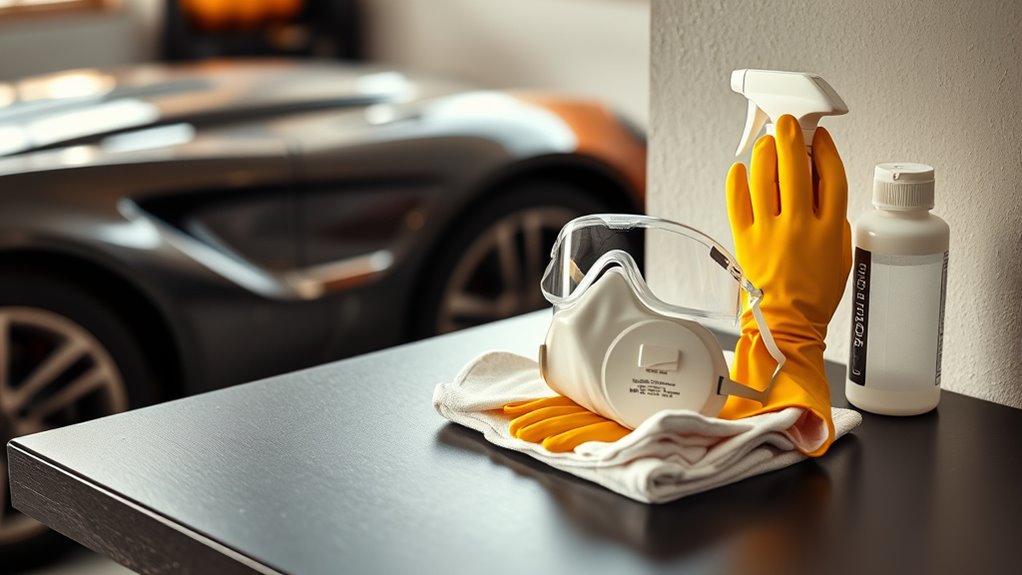
Before you start removing paint from your car, make sure your workspace is well-ventilated by opening windows and using fans to disperse fumes. Proper ventilation is essential during paint removal to keep harmful chemicals and dust from building up.
Ensure your workspace is well-ventilated by opening windows and using fans to disperse harmful fumes and dust.
Next, gear up with safety equipment—wear goggles to protect your eyes, a dust mask or respirator to avoid inhaling particles, and heavy gloves to shield your hands from chemical splashes.
Clear the area of any flammable materials or items sensitive to dust and chemicals to prevent accidents or damage. Lay down drop cloths or plastic sheeting to safeguard the ground and nearby surfaces from paint debris or overspray.
Finally, organize all your tools and safety gear within easy reach before you begin. Preparing your workspace and safety gear this way guarantees a safer, more efficient paint removal process without unnecessary interruptions or hazards.
Wash and Dry the Car Surface Before Paint Stripping
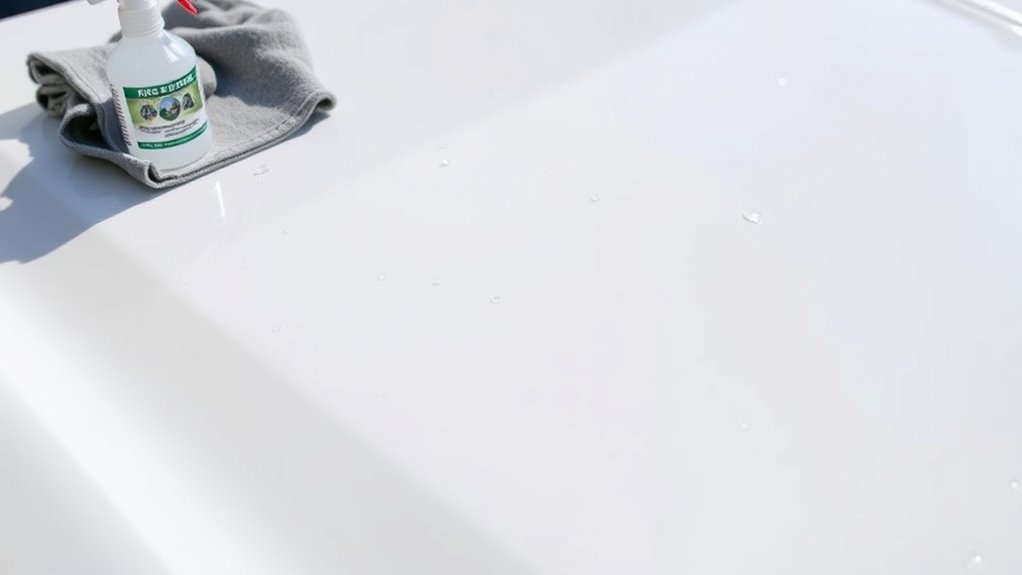
Although it might seem like an extra step, washing your car thoroughly with a pH-neutral shampoo is essential. It helps remove dirt, grease, and contaminants that could interfere with paint removal.
This surface preparation guarantees you won’t embed debris into the paint or metal when stripping. After washing, use a microfiber cloth to dry the surface thoroughly. Drying prevents water spots, rust, or unwanted chemical reactions during paint removal.
Proper washing and drying also help you spot loose or flaking paint. This makes the stripping process more precise.
| Step | Purpose |
|---|---|
| Wash with pH-neutral shampoo | Removes dirt, grease, and contaminants |
| Inspect surface | Identifies loose or flaking paint |
| Dry with microfiber cloth | Prevents water spots and rust |
| Ensure fully dry | Avoids chemical reactions during paint removal |
Following these steps guarantees a clean, dry surface. It really sets you up for successful paint removal.
How to Spot Different Paint Types and Damage

You’ll want to start by identifying whether the paint on your car is just a surface transfer or if it has penetrated deeper layers. Check for scratches or dents that signal more serious damage requiring stronger removal methods.
Also, knowing the type of paint—acrylic, enamel, or urethane—helps you choose the right approach for cleaning or repair. It really makes a difference in how you handle the situation.
Identifying Paint Transfer
When paint transfers onto your car, it’s essential to identify whether the marks are superficial or have penetrated deeper layers. Superficial paint transfer shows up as small, colored spots on the surface and usually comes off with gentle cleaning.
However, if the paint transfer has penetrated the clear coat or underlying layers, you’ll notice the marks are tougher to remove and may require more advanced techniques. Damage from collisions or scratches often causes this deeper penetration.
Assessing Paint Damage
Understanding the type and extent of paint damage goes beyond just spotting surface stains. You need to take a good look at your car to figure out how bad it really is and what the best way to fix it might be.
Start by checking if the stain is just sitting on top or if it’s penetrated deeper. Superficial stains are easier to handle, but if the stain has gone deeper, you’ll probably need stronger treatment.
Next, look out for scratches, dents, or corrosion. These show you how deep the damage is and whether you might need more than just a simple fix.
Also, it’s important to know what kind of paint you’re dealing with—acrylic, urethane, or enamel. Each type behaves differently when you try to remove stains, and some paints can chip or bubble if you’re not careful.
Choose Mechanical Paint Stripping Methods for Your Car
Although chemical strippers and blasting techniques have their place, choosing mechanical paint stripping methods gives you direct control over the process and lets you avoid harsh chemicals. Mechanical paint stripping uses tools like angle grinders, wire wheels, and sanding discs to remove paint efficiently.
You start with coarse grit to strip the paint and finish with finer grits for a smooth surface. It’s faster and often cheaper for small to medium jobs.
Here’s a quick guide:
| Tool Type | Grit Range | Purpose |
|---|---|---|
| Angle Grinder | 40-80 | Remove thick paint |
| Wire Wheel | N/A | Strip flaky paint |
| Sanding Disc | 120-400 | Smooth and prep surface |
Remember to wear goggles, gloves, and a respirator to protect yourself from dust and debris when you use these tools. Mechanical paint stripping is ideal if you want precision and control without chemicals.
Get Your Tools Ready: What You’ll Need to Strip Paint
Before you start stripping paint from your car, gather all the essential tools and safety gear to guarantee a smooth and safe process. Having everything ready will make paint stripping more efficient and help you avoid interruptions.
Gather essential tools and safety gear first to ensure a smooth, efficient, and uninterrupted paint stripping process.
Here are the key items you’ll need:
- Mechanical Tools: An angle grinder with abrasive discs, wire wheels, or plastic stripping discs to remove paint effectively.
- Cleaning Supplies: Water, mineral spirits, or isopropyl alcohol to clean the surface after paint stripping.
- Protective Materials: Masking tape and plastic sheeting to shield parts you don’t want stripped or damaged.
Additionally, prepare your safety gear like goggles, dust masks or respirators, and heavy gloves to protect yourself from dust and chemical residues during paint stripping.
Confirm your workspace is properly ventilated to handle fumes safely. With these tools and preparations, you’re set to tackle paint stripping confidently and efficiently.
Safety Tips Before You Start Stripping Paint
Before you start stripping paint, make sure you wear protective goggles, gloves, and a respirator to keep yourself safe from harmful fumes and chemicals. It’s really important to gear up properly.
Always work in a well-ventilated area to reduce exposure to toxic fumes. Trust me, fresh air makes a big difference. Taking these steps will help protect your health throughout the process.
Essential Safety Gear
Why should you gear up properly before stripping paint off your car? Using the right safety gear protects you from harmful chemicals, flying debris, and dust.
Here are three essential items you shouldn’t skip:
- Safety goggles: Shield your eyes from chemical splashes and particles that can cause serious damage.
- Respirator or dust mask: Prevent inhalation of toxic fumes and dust by wearing a respirator rated for chemicals.
- Heavy-duty gloves: Protect your hands from abrasions and chemical burns with nitrile or latex gloves.
Also, it’s a good idea to wear long sleeves and pants to minimize skin exposure. Proper safety gear isn’t optional—it’s your first line of defense when stripping paint.
Always prioritize your health to get the job done safely and effectively.
Workspace Ventilation
Wearing the right safety gear keeps you protected, but you also need to make certain your workspace is properly ventilated to handle the fumes from paint removers. Open windows and use exhaust fans to disperse hazardous vapors, especially if you’re working indoors.
If possible, work outdoors or in a dedicated, ventilated garage to minimize health risks. Using fans or air purifiers can help improve airflow and reduce the buildup of toxic fumes.
Remember, many paint stripping chemicals are flammable, so keep the area free of open flames, sparks, or heat sources. And always wear a respirator mask approved for paint fumes to protect your lungs.
Proper ventilation is really vital to ensure you stay safe while stripping paint off your car. It’s worth taking these precautions so you can work without worry.
Start Stripping Paint on Large, Flat Areas
When you start stripping paint on large, flat areas, use a coarse-grit abrasive disc like 40 or 80 grit on a low-speed angle grinder. This helps remove most of the paint quickly and efficiently.
To remove paint effectively and avoid damage, follow these steps:
To remove paint effectively and avoid damage, follow these simple and practical steps carefully.
- Keep the grinder moving steadily across the surface with consistent pressure. This prevents gouging or uneven removal.
- Start from the center of the flat area and work outward in overlapping passes. This way, you get uniform paint removal.
- Wear a dust mask, goggles, and make sure there’s proper ventilation. Protect yourself from dust and debris.
Once the bulk of the paint is removed, switch to finer grit discs, like 120 to 400 grit. This smooths the surface and prepares it for priming and repainting.
Doing this ensures a clean, even finish. By following these steps, you’ll remove paint efficiently while protecting both your car and yourself.
Remove Paint From Edges and Tight Spots Safely
When removing paint from edges and tight spots, you’ll want to use precise tools like a plastic razor blade or a fine brush with gentle solvent. Protect surrounding areas with painter’s tape and work slowly to avoid damaging your car’s surface.
Taking these safety precautions guarantees you get the job done cleanly without scratches or gouges. It’s all about being patient and careful, so don’t rush through the process!
Choosing Proper Tools
Although removing paint from edges and tight spots can be tricky, choosing the right tools makes the task much easier and safer. Using proper tools helps you avoid damaging adjacent surfaces and guarantees precision.
Here’s what you should use:
- Small, detail-oriented tools like precision sanding sticks or fine-tip rotary tools for careful paint removal in narrow areas.
- Plastic or rubber scrapers instead of metal ones, preventing scratches on nearby paint.
- Cotton swabs or small brushes dampened with solvent to target paint precisely without affecting surroundings.
Also, don’t forget to protect adjacent areas with masking tape or painter’s putty. Always work gently at low speed to maintain control.
Seriously, picking the right tools is key to safely and effectively removing paint from tight or intricate spots on your car.
Working On Tight Areas
Choosing the right tools sets you up for success as you tackle paint removal in tight areas. Use small, detail-oriented tools like precision sanding tips or dental picks to carefully remove paint from edges without damaging surrounding surfaces.
Apply masking or painter’s tape around tight spots to protect adjacent areas from scratches. A flexible, narrow scraper or razor blade held at a gentle angle helps lift paint without gouging the metal.
For hard-to-reach corners, dip a cotton swab or small brush in solvent or paint stripper to target paint safely. Work slowly and methodically, cleaning your tools and the area frequently to prevent spreading paint or causing damage in confined spaces.
Staying patient and precise ensures a clean, smooth finish. It might take time, but the results are totally worth it!
Safety Precautions
How can you protect yourself while removing paint from edges and tight spots? Following essential safety precautions ensures you work effectively without harm. Here’s how to stay safe:
Always wear safety goggles and gloves to shield your eyes and skin from chemical splashes. It might seem obvious, but it’s super important to keep those chemicals off you.
Use small, precise tools like detail brushes or precision applicators to apply paint remover carefully. This helps avoid spills on unwanted areas and keeps things neat.
Make sure your workspace is well-ventilated. Breathing in fumes from chemical strippers, especially in enclosed spaces, is definitely something you want to avoid.
Also, mask off nearby surfaces with painter’s tape to protect them. Work slowly and apply paint remover in thin layers.
These safety precautions help you remove paint from tight spots without damaging your car or risking your health. Staying safe means getting the job done right!
Clean the Surface After Stripping
Once you’ve stripped the paint, you need to clean the surface thoroughly to remove any leftover chemicals and debris. Start by washing the area with a pH-neutral shampoo to guarantee you eliminate any traces of chemical paint removers. Use a clean microfiber cloth or sponge to gently wipe down the surface, avoiding abrasive particles that could scratch the metal underneath.
Next, apply a solvent like isopropyl alcohol or a dedicated surface cleaner to get rid of any remaining paint residues or adhesive traces. Afterward, rinse the area with clean water to wash away all cleaning agents and loosened paint.
Finally, buff the surface with a polishing compound or apply car wax to restore its shine and add a protective layer. This careful cleaning ensures your car’s surface is prepped and free from contaminants, setting you up for the next steps in refinishing.
Smooth the Surface With Progressive Sanding Grits and Apply Primer
Before applying primer, you’ll need to smooth the surface by sanding progressively with different grits of sandpaper. Start with a coarse grit like 80 or 120 to strip away any remaining paint and imperfections.
Begin by sanding with coarse grit sandpaper to remove paint and smooth imperfections before priming.
Then move on to finer grits to refine the surface. Follow these steps for effective sanding:
- Use 80 or 120 grit sandpaper to remove tough residues and smooth out rough areas.
- Progressively switch to 220, then 320, and finally 400 grit sandpaper for an even, smooth finish.
- Sand with consistent, circular or back-and-forth motions, applying light pressure to avoid gouges.
Remember to clean the surface regularly with a damp cloth or compressed air to remove dust and debris between grit changes. This helps keep things neat and prevents scratches.
After you finish sanding, wipe the area thoroughly with a tack cloth or isopropyl alcohol. This ensures no dust remains, creating the perfect base for primer to adhere properly.
Frequently Asked Questions
What Is the Easiest Way to Remove Paint From a Car?
The easiest way to remove paint from your car is by using an automotive clay bar with lubricant. It gently lifts paint transfer without damaging your finish, making the process quick, safe, and effective for surface-level paint removal.
It’s pretty straightforward to use, and you don’t need any special skills. Just glide the clay bar over the lubricated surface, and you’ll see the paint come off easily.
Does Dawn Dish Soap Remove Car Paint?
You won’t find Dawn dish soap magically stripping car paint—it’s not made for that.
In fact, it might harm your finish if you try. So, don’t trust your dish soap for car paint removal.
Does WD-40 Remove Paint off a Car?
WD-40 can remove fresh or minor paint transfers from your car, but it won’t work well on thick or dried paint.
You should test it first and use it sparingly. Afterward, make sure to clean the area to avoid damaging your clear coat.
How Do I Remove Car Paint Secretly?
You’ll want to use gentle methods like automotive clay bars or solvent wipes in a discreet, well-ventilated spot.
Avoid sanding and loud tools to keep things low-profile and prevent drawing attention while removing paint.
It’s all about being subtle and careful, so no sudden noises or obvious actions.
Just take your time and stay low-key to get the job done without anyone noticing.
Conclusion
Now that you’ve learned how to remove paint from your car step-by-step, are you ready to tackle the job with confidence? By preparing your workspace, choosing the right tools, and carefully stripping and sanding the surface, you’ll restore your car’s finish like a pro.
Remember, patience and safety go hand in hand. Taking your time ensures the best results without damaging your vehicle.
So, grab your gear and get started—your car’s fresh new look is just a few steps away! Removing paint from your car might seem daunting, but with the right approach, it’s completely doable. Follow these easy steps, and you’ll enjoy a smooth, clean surface ready for repainting or touch-ups. Happy painting!