
How to Remove Sap From Car in 7 Simple Steps
To remove sap from your car, start by acting quickly to prevent damage to your paint. Gathering safe cleaners, soft cloths, and plastic scrapers is a good first step. These tools will help you tackle sap without scratching your car’s surface.
Work in the shade to keep the sap from hardening further. Clean and dry your car thoroughly, then spot-check all the sap locations carefully. This way, you know exactly where to focus your efforts.
Next, soften the sap using warm water or a dedicated sap remover. Gently lift it off with a plastic card to avoid damaging the paint.
For those stubborn spots, clay bars work wonders and can get the job done.
Finally, rinse and dry your car well. Don’t forget to apply wax afterward to protect your paint and keep it looking shiny. If you want to master this process, there’s definitely more to uncover!
Key Takeaways
- Act quickly to prevent sap from hardening and damaging the car’s paint or clear coat.
- Soften sap with warm water or a specialized sap remover before attempting removal.
- Use a plastic scraper or soft cloth with isopropyl alcohol to gently lift and dissolve sap.
- Rinse thoroughly and dry the area with a lint-free cloth to avoid streaks and residue.
- Apply wax or sealant afterward to protect the paint and simplify future sap removal.
Why Prompt Tree Sap Removal Is Important

Because tree sap can quickly bond with your car’s paint, removing it promptly is essential to prevent discoloration and long-term damage. When tree sap sits on your vehicle, it starts to harden and can etch through the clear coat, causing paint damage that’s costly to fix.
Prompt removal stops sap from embedding itself, which makes cleaning easier and protects your car’s finish. If you wait too long, the sap can cause stains, paint peeling, and surface deterioration, all of which reduce your car’s shine and resale value.
Acting quickly helps you avoid these problems by preserving the paint’s integrity and appearance. By addressing tree sap immediately, you keep your car looking its best while preventing irreversible harm.
Gather the Right Supplies for Safe Sap Removal

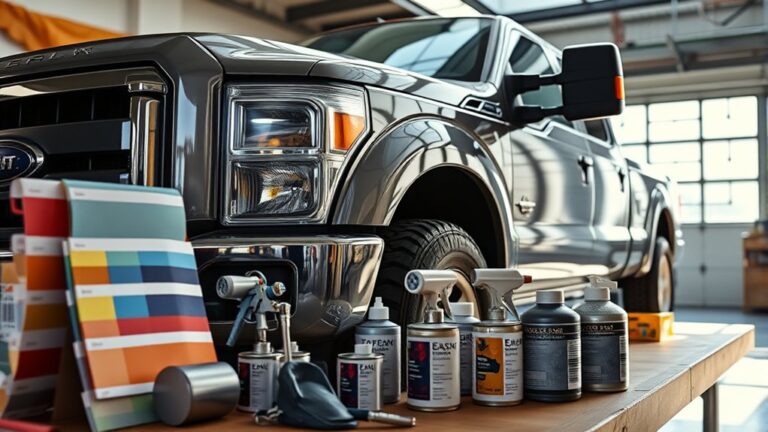
Before you start removing sap from your car, gather the right supplies to protect your vehicle’s finish and make the process easier. You’ll need gentle, automotive-safe cleaning supplies like Simple Green All-Purpose Cleaner, which effectively loosens sap without damaging your paint.
Prepare soft microfiber cloths and non-abrasive pads to gently wipe away residue. Having plastic or rubber detailing tools helps you work safely on delicate surfaces.
Use soft microfiber cloths and non-abrasive pads with plastic or rubber tools to protect delicate car surfaces.
A plastic card or scraper is essential for lifting hardened sap without scratching the clear coat. Fill a spray bottle with water or a waterless wash solution to soften stubborn sap spots before cleaning.
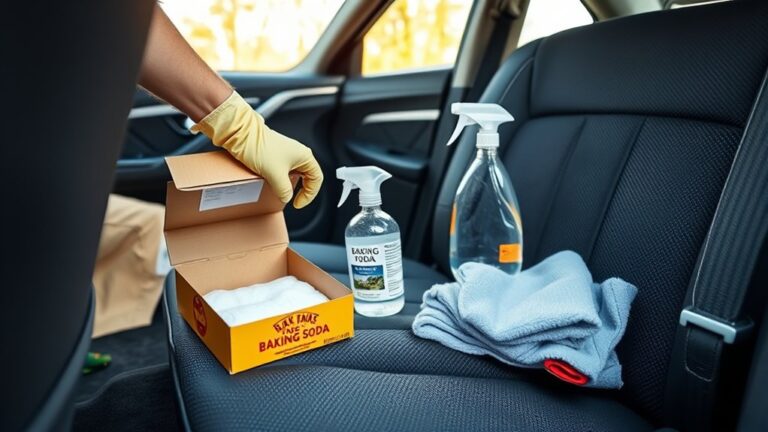
Don’t forget protective gear—wear gloves and eye protection to handle cleaning agents safely, preventing skin contact and irritation. By assembling these supplies beforehand, you guarantee a smooth, safe sap removal process that keeps your car’s finish intact and looking great.
Prepare Your Car and Work Area Properly

Before you start, make sure to work in a shaded area. This helps keep sap from hardening on your car’s surface.
Gather all your cleaning supplies nearby so you can easily reach them when needed. Then, take a careful look at your car.
Spot every sap-affected area before you begin cleaning. That way, you won’t miss any spots.
Choose Shaded Workspace
While working in direct sunlight might seem convenient, choosing a shaded workspace considerably improves your sap removal process. A shaded workspace prevents sap from drying and hardening, making it easier to remove.
It also keeps cleaning products from evaporating too quickly, allowing them to work effectively. Plus, shade reduces glare and helps you maintain better control, preventing damage to delicate surfaces.
| Benefit | Reason |
|---|---|
| Prevents Sap Hardening | Shade keeps sap soft for easier removal |
| Preserves Cleaning Products | Slows evaporation for better effectiveness |
| Prevents Damage | Cooler conditions protect paint and plastics |
| Improves Visibility | Reduces glare for precise cleaning |
Choosing the right environment really maximizes your results and helps protect your vehicle throughout the process.
Gather Cleaning Supplies
To remove sap effectively, you’ll want to gather all the necessary cleaning supplies and prepare both your car and workspace properly. Start with gentle automotive cleaner, microfiber towels, a plastic scraper, and detailing clay for sap removal.
Before you begin, wash and dry your vehicle thoroughly to clear away loose dirt and prevent scratches during cleaning. Always work in a shaded area or garage to stop sap from drying too fast. This makes it easier to remove.
Prepare a clean, clutter-free workspace to keep your tools handy and avoid accidental damage to your vehicle. Finally, test any cleaning products on a small, hidden spot first to make sure they won’t harm your car’s paint or finish.
This preparation really sets the stage for effective sap removal.
Inspect Sap-Affected Areas
As you prepare to remove sap, carefully inspect your car to spot every affected area, including the hood, roof, trunk, and windows. Work in a shaded or garage area to prevent sap from hardening and avoid cleaning products drying too fast.
Before applying any remover, wash the surrounding surfaces with soap and water to remove dirt and debris, then dry the vehicle completely with a microfiber towel. This helps you better inspect the extent of sap damage and prevents water spots.
Finally, conduct a patch test with your chosen sap remover on a small, inconspicuous spot to ensure it won’t damage your car’s paint or clear coat. Thoroughly inspecting and preparing your car sets the stage for effective sap removal.
Identify and Soften Sap Spots
Start by carefully inspecting your car’s surface to spot any sticky or raised sap deposits. Once you’ve found them, soften hardened sap by applying a sap remover or gently warming the area.
This makes it easier to lift the residue without damaging your paint. Just take your time and be gentle with the process.
Locate Sap Deposits
Where should you look first to find sap on your car? Start with a thorough visual inspection of common spots like the hood, roof, trunk, and areas near tree branches. Sap deposits often appear as raised, sticky spots with a rough or glossy texture.
To identify sap deposits accurately, use a gentle finger test or a plastic scraper to check if spots are hardened or softened sap. Look also for discoloration or oil-like stains, which usually signal sap presence. Softening stubborn sap with warm water or a sap remover can make removal easier.
| Location | Signs of Sap Deposits |
|---|---|
| Hood | Sticky, raised spots |
| Roof | Glossy or rough texture |
| Trunk | Discoloration or stains |
| Near tree branches | Hardened or softened sap spots |
Pre-Soften Hardened Sap
How do you tackle hardened sap once you’ve spotted it on your car? Acting quickly is key because hardened sap becomes tougher to remove over time.
To soften dried sap effectively, follow these steps:
- Apply a generous amount of a gentle solvent, like bug and tar remover or isopropyl alcohol, directly onto the hardened sap spot.
- Let it sit for at least 30 seconds to penetrate and loosen the sap’s sticky grip.
- Use a soft cloth or applicator to gently massage the area, breaking down the sap without damaging your car’s paint.
Avoid sharp or abrasive tools—they can scratch or ruin the clear coat. This careful pre-softening process makes sap removal smoother and protects your car’s finish.
Use Specialized Removers and Clay Bars to Remove Sap
Although sap can be stubborn, you can effectively remove it using specialized removers like bug and tar solvents. These are designed to dissolve sap without harming your car’s paint.
Start by applying the sap remover carefully. Make sure to follow the instructions and do a patch test on a hidden area to check it won’t damage your car paint.
Once the sap softens, use detailing clay bars with a lubricant to lift any embedded or hardened sap. Gently press and knead the clay bar over the affected area. It traps and removes contaminants without scratching the surface.
Using a clay bar after the sap remover really helps with removal and leaves your paint smooth and clean. Just remember to keep the surface lubricated while using the clay bar so you don’t cause any damage.
This two-step approach targets sap effectively while protecting your vehicle’s finish. It ensures sap is removed thoroughly and safely, restoring your car’s shine.
Remove Sap From Plastic and Glass Surfaces Safely
Since sap can cling stubbornly to plastic and glass surfaces, you’ll want to approach removal gently to avoid scratches or streaks. Here’s how to tackle sap removal safely on these materials:
Use a plastic scraper or an old credit card to carefully lift dried sap from plastic or glass without causing damage. Next, apply a small amount of isopropyl alcohol or an automotive glass cleaner to a soft cloth, then gently rub the sap until it dissolves. For stubborn sap on glass, let a warm, soapy cloth sit on the spot for a few minutes to soften the residue before wiping.
Avoid abrasive pads or harsh solvents like nail polish remover, as they can harm plastic surfaces and leave streaks on glass.
After sap removal, rinse the area with water and dry it with a lint-free cloth to keep your plastic and glass surfaces spotless and scratch-free.
Protect Your Car’s Finish With Wax or Sealant
When you apply a layer of wax or sealant to your car’s finish, you create a protective barrier that makes future sap removal much easier and less risky. Wax or sealant fills in microscopic pores in the paint, preventing sap from bonding strongly and reducing the risk of stubborn stains.
This protective coating doesn’t just guard against tree sap—it also shields your paint from other environmental contaminants. Plus, regularly applying wax or sealant enhances your car’s shine, keeping it looking polished and well-maintained.
Without this layer, sap can harden, which might lead to paint etching or clear coat deterioration over time. To keep your car’s finish in top shape, it’s a good idea to reapply wax or sealant after cleaning.
Doing this maintains a durable, protective surface that makes sap removal simpler and preserves your paint’s integrity. If you stick to this routine, you’ll protect your investment and keep your car’s finish looking its best.
Frequently Asked Questions
What’s the Easiest Way to Get Sap off a Car?
The easiest way to get sap off your car is to apply a gentle cleaner, let it sit, then gently rub with a soft cloth.
If you’ve got stubborn spots, try using a clay bar. After that, rinse everything off and protect your car with some wax.
It’s pretty simple once you get the hang of it!
Does WD-40 Remove Sap From Car?
Yes, WD-40 removes sap effectively by softening it. Spray some on a cloth, gently rub the sap, then wash the area with soap and water.
Always test a small spot first to protect your paint. This way, you can be sure it won’t cause any damage before you go all in.
Will Dawn Dish Soap Remove Sap From Car?
You might think Dawn dish soap will remove sap from your car, but it won’t work well alone. It can help loosen sap, but you’ll need stronger, specialized removers for stubborn spots.
Will Rubbing Alcohol Remove Tree Sap From Car Paint?
Yes, rubbing alcohol will remove tree sap from your car paint. Just apply it gently and avoid prolonged contact.
Make sure to test a small area first. It dissolves sap effectively but can damage wax or clear coat if misused.
Conclusion
If you don’t remove sap immediately, it’s like letting tiny tree villains attack your car’s paint every second! Don’t let those sticky spots ruin your ride’s shine forever.
By following these simple steps, you’ll zap sap away like a pro and keep your car looking flawless. Remember, prompt action isn’t just smart—it’s the secret weapon against permanent damage.
So, get started now and show that sap who’s boss! Removing sap from your car quickly helps prevent long-term paint damage and keeps your vehicle looking its best. With these easy steps, tackling sap stains becomes a breeze, ensuring your car maintains its glossy finish and value. Don’t wait—act fast and keep your car’s exterior clean and sap-free!



2 Comments