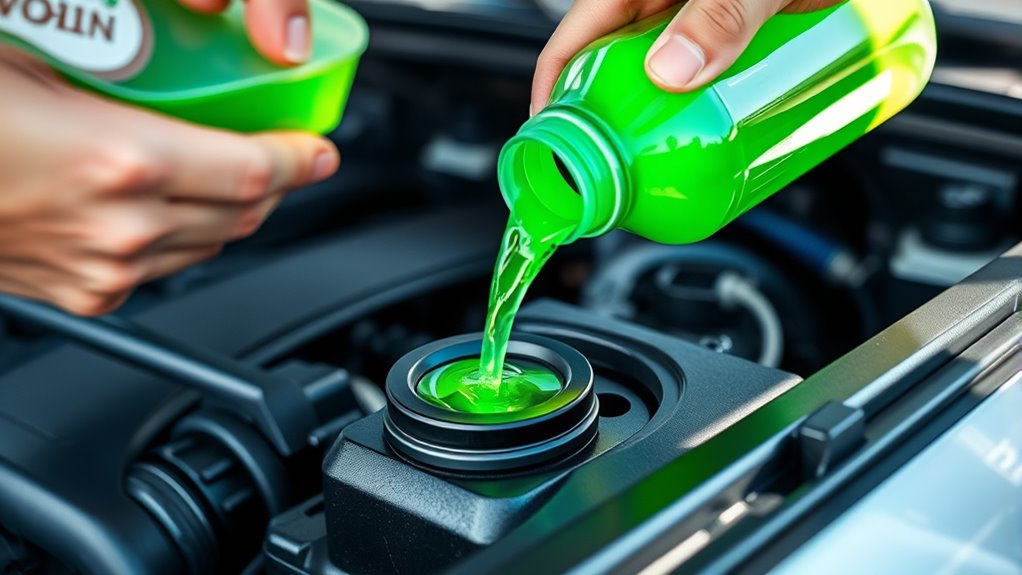
How to Add Coolant to Your Car in 10 Easy Steps
To add coolant to your car, first guarantee the engine is cool—wait at least 30 minutes to 1 hour until the temperature is below 122°F. This step is super important to avoid burns or other injuries.
Once the engine is cool, locate the coolant reservoir and check the levels between the “MIN” and “MAX” marks.
Next, clean the cap area to prevent any dirt from getting inside.
Gradually add the correct coolant type and the right amount, being careful not to overfill. Overfilling can cause problems, so take your time here.
After adding the coolant, start the engine and let it run for a few minutes.
Then, recheck the levels and inspect for any leaks around the reservoir or hoses.
Follow these steps carefully, and you’ll keep your cooling system running smoothly and your car in great shape. Adding coolant is a simple maintenance task that helps prevent overheating and costly repairs down the road.
Key Takeaways
- Wait for the engine to cool for at least 30 minutes before checking coolant levels to avoid burns. This step is really important for your safety, so don’t skip it.
- Locate the coolant reservoir and check the fluid level against the “MIN” and “MAX” markings. It’s usually a translucent tank, so you can see the levels without opening it.
- Clean the reservoir cap area before opening to prevent dirt contamination. You don’t want any grime falling into the coolant system.
- Slowly add the recommended coolant up to the “MAX” level, using distilled water if diluting concentrate. Take your time here to avoid overfilling.
- Start the engine, let it warm, then recheck and top off coolant after it cools to ensure proper circulation. This helps the coolant settle in all the right places.
How to Know When Your Engine’s Cool Enough for Coolant
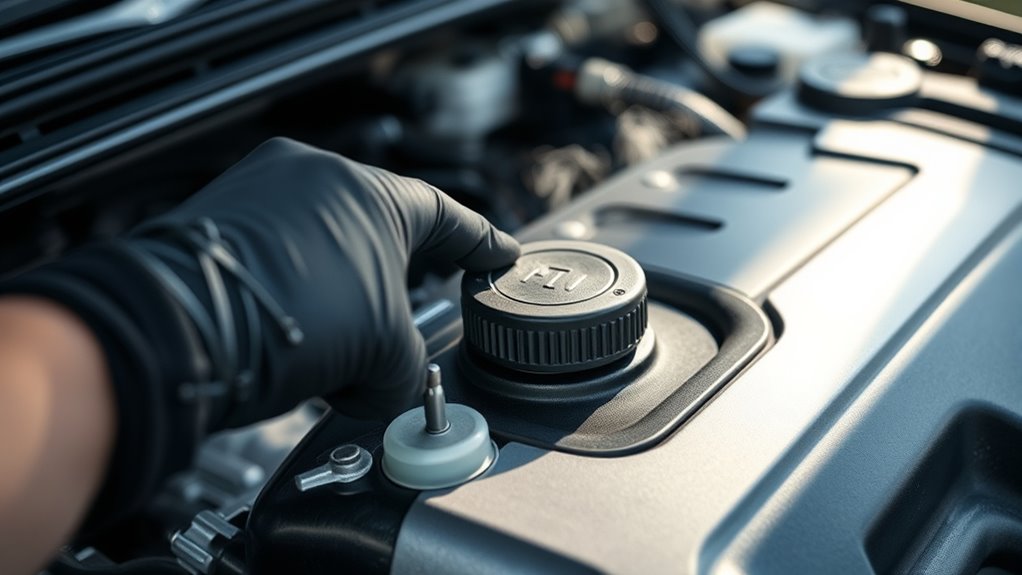
Before you add coolant, make sure your engine has cooled down for at least 30 minutes to avoid burns or pressure-related injuries. You’ll want to check the coolant reservoir and radiator caps to verify they’re cool to the touch before opening them.
Always wait at least 30 minutes for your engine to cool before opening the coolant reservoir or radiator caps.
The cooling system remains under pressure when hot, so opening caps too soon can be dangerous. Feel the upper radiator hose; it should be cool or just slightly warm, never hot or rigid.
If you have a thermometer or temperature gauge, confirm the engine temperature is below 122°F (50°C). Also, squeeze the radiator hoses—they should be pliable, not stiff or pressurized.
Only when these checks show the engine and cooling system have cooled properly can you safely proceed to check and adjust the coolant level. Taking these steps protects you and ensures you maintain your vehicle’s cooling system efficiently.
What Type of Coolant Should You Use for Your Vehicle?
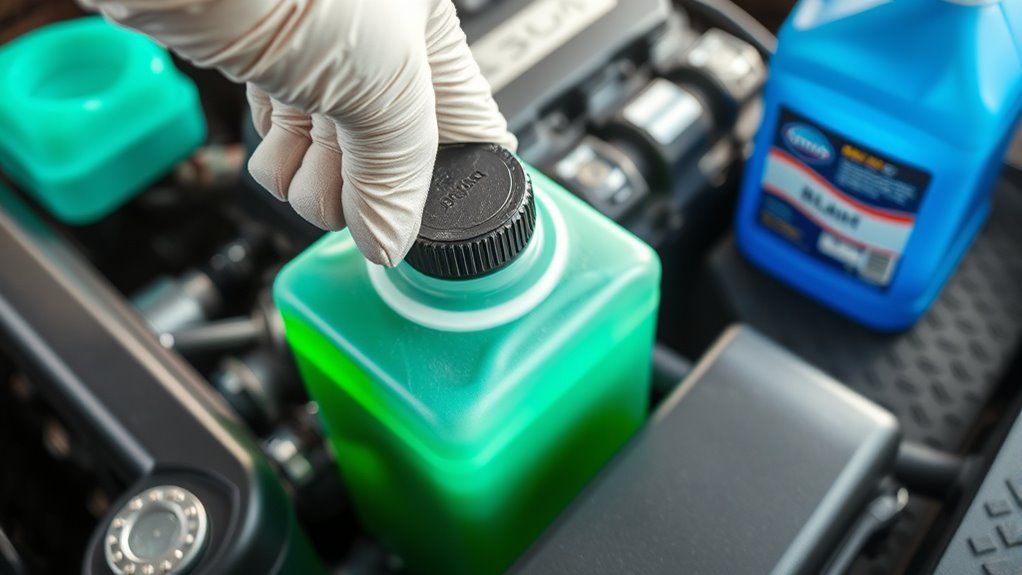
You’ll want to start by checking your vehicle’s owner manual to find the recommended coolant type. Coolants like IAT, OAT, and HOAT each have different properties, so using the right one matters.
Also, avoid mixing different coolants to prevent damage and keep your engine running smoothly. It’s a simple step that can save you a lot of trouble down the road.
Coolant Types Explained
How do you know which coolant type suits your vehicle best? There are three main coolant types: IAT, OAT, and HOAT. Each has different properties and lifespans that affect how you manage coolant levels.
Always mix your coolant with distilled water to avoid impurities. Here’s a quick guide:
| Coolant Type | Features |
|---|---|
| IAT | Older type, silicates/phosphates, change every 2 years |
| OAT | Modern vehicles, orange/red/yellow, lasts 5 years |
| HOAT | Hybrid, green/turquoise, extended life |
| Mix with | Distilled water only |
| Check | Coolant levels regularly to avoid overheating |
Choose the right coolant type to keep your engine running smoothly. It also helps prevent corrosion, so your engine stays in great shape!
Vehicle Manufacturer Recommendations
Wondering which coolant works best for your vehicle? Always check your owner’s manual first to follow the manufacturer recommendations precisely.
Your vehicle’s coolant type is vital—whether it’s IAT, OAT, or HOAT—to guarantee compatibility and protect your engine from damage. Using the manufacturer-approved coolant prevents chemical reactions that can cause deposits and reduce cooling efficiency.
Some vehicles also require specific coolant colors or additives, so verify these details before buying. Don’t forget to keep an eye on the recommended coolant replacement intervals stated in the manual.
Sticking to these intervals helps maintain peak performance and prevents overheating. Following these guidelines guarantees your car stays cool and runs smoothly without unexpected issues.
Mixing Coolant Precautions
Because different coolants have unique chemical formulas, mixing them can cause harmful reactions that damage your engine’s cooling system. When mixing coolant, you should always use the type recommended in your vehicle’s owner manual to avoid incompatible coolants.
These types—such as IAT, OAT, and HOAT—have distinct compositions and lifespans, so mixing them risks gelling, clogging, or corrosion. To guarantee the proper mixture, choose pre-mixed coolant when possible, as it eliminates guesswork and prevents incorrect dilution.
If you need to dilute concentrate coolant, use distilled water only. Tap water contains minerals that may cause deposits or corrosion.
Sticking to these precautions helps maintain your cooling system’s health and performance without costly damage. It’s a simple way to keep your engine running smoothly.
Where to Find the Coolant Reservoir in Your Car
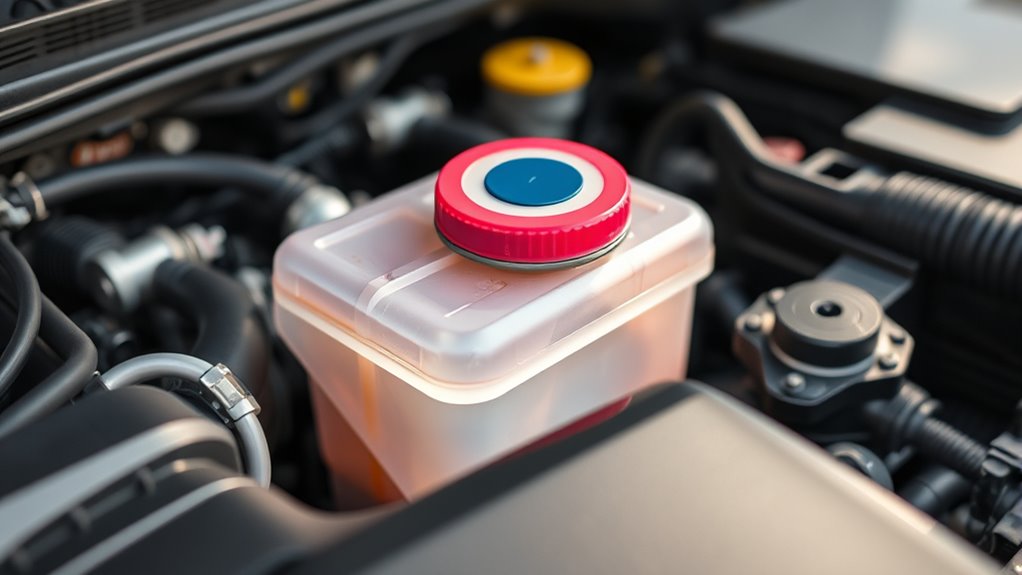
You’ll find the coolant reservoir in the engine bay, usually near the radiator as a translucent plastic tank. Look for labels like “Coolant” or “Engine Coolant” and check the minimum and maximum level markings on the side.
Just remember to only open the cap when the engine is cool to avoid injury. It’s better to be safe than sorry!
Locating The Reservoir
Although the coolant reservoir’s location can vary, you can usually find it as a transparent plastic container near the radiator under your car’s hood. Knowing where to locate the reservoir is key before adding coolant.
Here’s how to find it:
- Look for a clear plastic tank close to the radiator; this is your coolant reservoir.
- Check if it has a black or colored cap, sometimes labeled “coolant” or “antifreeze.”
- Notice the “MIN” and “MAX” lines on the reservoir’s side, indicating safe coolant levels.
In some cars, the reservoir might be part of the radiator itself, so it’s a good idea to check your owner’s manual for specifics.
Once you’ve found it, you’re all set to move on to checking the coolant levels.
Identifying Coolant Levels
How can you quickly tell if your car’s coolant level needs topping off? First, locate the coolant reservoir. It’s usually a translucent white or clear plastic container near the radiator.
The reservoir has markings on the side showing the “MIN” and “MAX” levels. Check the coolant levels by making sure the fluid sits between these marks. If the coolant is below the max level, it’s time to add more.
Some cars have a separate overflow tank connected to the radiator, which also shows coolant levels. Always make sure the engine is cool before opening the reservoir cap because it might be under pressure.
To be sure, check your vehicle’s owner manual. It’ll help you find the exact location of the coolant reservoir and explain your car’s specific setup.
How to Check Current Coolant Levels Before Adding
Before adding coolant, make sure the engine is completely cool. This helps you avoid burns from hot fluids or pressure in the system.
Always ensure the engine is cool before adding coolant to prevent burns from hot fluids or pressure.
Checking the current coolant levels correctly is super important. It helps you keep your car’s cooling system running smoothly and prevents any damage.
To check coolant levels:
- Locate the coolant reservoir under the hood. It’s usually a white or clear plastic tank near the radiator.
- Use the markings on the reservoir to check coolant levels. Make sure the fluid sits between the minimum and maximum lines.
- Take a look at the coolant for any discoloration or debris. If you see any, it might be time for a flush or replacement.
- Before opening, wipe the cap area clean. This keeps dirt from getting into the coolant system.
How to Add the Correct Amount of Coolant Safely
Before you add coolant, make sure the engine is completely cool to avoid injury and get an accurate reading.
Check the level carefully using the marks on the reservoir, and only add coolant up to the recommended point.
Taking these steps helps guarantee you add just the right amount safely.
Measuring Coolant Levels
When the engine is cool, you should check the coolant level to guarantee it falls between the reservoir’s minimum and maximum marks. This ensures your vehicle runs smoothly without overheating.
If your reservoir lacks markings, use a clean container or dipstick to measure the coolant level accurately.
Follow these steps to measure coolant levels properly:
- Locate the coolant reservoir under the hood.
- Visually inspect the coolant level against the reservoir’s minimum and maximum marks.
- If needed, add the specified coolant gradually, pausing to recheck the level to avoid overfilling.
- After adding, run the engine briefly, let it cool, then recheck the coolant level to confirm it’s correct.
Cooling Engine Before Filling
After checking and adjusting your coolant levels, you need to guarantee the engine has cooled completely before adding any more coolant. Cooling the engine properly is essential to avoid burns and pressure-related injuries.
Never open the radiator cap or coolant reservoir when the engine temperature is still high. Wait at least 30 minutes to an hour after driving to let the engine cool down safely.
You can check the engine temperature by looking at the coolant gauge or carefully touching the radiator hose—if it’s cool to the touch, you’re good to go. Always confirm by inspecting the radiator and hoses for cold surfaces.
Only then should you remove the radiator cap and add coolant, making sure you do so safely without risking injury. It’s better to be patient here than to rush and get hurt.
How to Bleed Air From the Coolant System Properly
Although filling your radiator with coolant is essential, you’ll need to bleed the air from the system to prevent overheating and guarantee proper circulation. Air pockets trapped inside the coolant system can cause hot spots and reduce cooling efficiency.
To properly bleed the air, follow these steps:
- Locate and open the bleed valve behind the thermostat at the engine’s top.
- Slowly fill the radiator with coolant until it flows steadily out of the bleed valve, signaling air has been expelled.
- Keep the bleed valve open while topping off the coolant to ensure all air pockets escape.
- Once you see a bubble-free, steady coolant flow, securely close the bleed valve.
If you notice any overheating or irregular coolant flow later, just repeat the bleeding process to remove leftover air pockets. Properly bleeding your coolant system guarantees your engine stays cool and runs smoothly.
How to Run the Engine After Adding Coolant
Before you close the hood, start the engine and let it run until the radiator fan kicks in. This shows the thermostat has opened and coolant is flowing properly.
Start the engine and wait for the radiator fan to confirm proper coolant flow before closing the hood.
As you run the engine, watch the top radiator hose—it should become hot. This confirms that the coolant is circulating through the engine cooling system as it should.
This circulation helps prevent overheating and guarantees the coolant level stabilizes within the radiator and overflow reservoir. Never open the radiator cap while the engine is hot; doing so risks serious burns.
Once the fan activates, let the engine cool down until the top hose is cool enough to squeeze easily. At this point, you can safely recheck the coolant level and add more if necessary.
Running the engine after adding coolant allows trapped air to escape and the system to reach ideal operating temperature. This ensures efficient engine cooling and prevents future overheating issues.
How to Recheck Coolant Levels After Running the Engine
Once the engine has cooled completely, you can safely recheck the coolant levels to confirm everything is within the proper range. Checking too soon risks injury from hot coolant or pressure.
After the engine cooled, follow these steps to recheck coolant levels:
- Open the coolant reservoir cap carefully and inspect the fluid level against the minimum and maximum markers. Make sure you do this slowly to avoid any sudden pressure release.
- If the coolant level has dropped below the maximum, refill the coolant reservoir to the proper level. It’s important not to overfill it.
- Monitor both the radiator and overflow tank after running the engine to ensure coolant remains stable. Keep an eye out for any sudden drops or leaks.
- Drive your car through a few cycles, then recheck coolant levels again to confirm proper circulation and no hidden leaks. This helps catch any issues early on.
How to Check for Coolant Leaks and Clean Up Spills
Since maintaining your car’s cooling system is essential, you should regularly inspect radiator hoses, clamps, and the radiator itself for any signs of leaks or damage. Check for coolant leaks by looking for puddles or wet spots under your vehicle, especially near the radiator, hoses, and coolant reservoir.
Don’t forget to examine the radiator cap and reservoir for cracks or corrosion that might lead to leaks. For leaks that aren’t visible, consider using a UV dye and a blacklight to detect them more easily.
If you find any coolant leaks, take care of spill cleanup immediately. Use absorbent materials like rags or kitty litter to soak up spills, and dispose of contaminated waste properly to protect the environment.
Being proactive about checking radiator hoses and cleaning up spills not only keeps your cooling system efficient but also prevents costly damage down the road. So, make it a habit to keep an eye on these parts regularly!
Tips for Maintaining Your Car’s Cooling System
To keep your car running smoothly and prevent overheating, you should regularly monitor coolant levels and follow a maintenance schedule. Maintaining the cooling system is essential to avoid costly repairs and keep your engine in top shape.
Here are four tips to help you maintain your car’s cooling system:
- Check coolant levels in both the reservoir and radiator regularly, especially before long trips or extreme weather. It’s a simple step that can save you a lot of trouble down the road.
- Schedule coolant flushes and replacements every 30,000 to 50,000 miles to prevent buildup and corrosion. Sticking to this routine keeps everything flowing nicely.
- Use only the coolant type recommended in your vehicle’s manual to ensure proper protection and performance. Mixing coolants or using the wrong type can cause issues.
- Inspect hoses and the radiator for leaks or damage, repairing issues promptly to maintain proper coolant circulation. Catching problems early helps avoid bigger headaches later.
Frequently Asked Questions
What Is the Correct Way to Add Coolant to a Car?
You should add coolant only when the engine is cool. Make sure to use the correct type for your car, and fill it slowly up to the recommended level.
Don’t forget to open the air bleed valve to release any trapped air. Once done, securely tighten the cap. It’s a good idea to recheck the level after running the engine for a bit.
Can I Just Add Coolant to My Car Without Flushing?
You can add coolant without flushing if your system is clean. About 65% of cars only need top-ups regularly.
Just check for rust or sludge first. Otherwise, flushing might be necessary to avoid future damage.
Can I Just Pour Coolant Into the Reservoir?
Yes, you can pour coolant into the reservoir, but only when the engine is completely cool. Always check the level between the min and max marks.
And remember, never open the cap while the engine’s hot to stay safe. It’s better to be cautious with this stuff!
Can You Add Coolant to an Engine Yourself?
You absolutely can add coolant yourself—no rocket science needed! Just make sure your engine’s ice-cold, use the right coolant, and pour carefully.
Follow instructions, and you’ll keep your engine running cool without a hitch!
Conclusion
Now that you’ve added coolant, your engine’s heart beats steady and cool, ready to conquer the road ahead. Remember, your car’s cooling system is like its lifeline—nurture it with regular checks and care.
A well-tended engine runs smoother, like a river flowing without a hitch. Keep an eye out and stay vigilant, so your car will thank you with countless miles of reliable performance and peace of mind.
Adding coolant is a simple but crucial step in car maintenance. By taking care of your cooling system regularly, you help prevent overheating and costly repairs. So, keep that coolant topped up, check the system often, and enjoy a smoother, safer ride every time you hit the road.